Welcome
to Realtime-Spy's 10 Step Installation Guide. With this
guide you should have Realtime-Spy up and running minutes!
Click
here to Get Started!
|
Jump
to Step: 1 - 2 - 3 - 4 - 5 - 6 - 7 - 8 - 9 - 10
|
Step
1
After downloading your copy of Realtime-Spy
navigate to where you downloaded (in this case it is on
the Windows desktop). Double click the Realtime-Spy installer
file to start the install.
NOTE:
After install is complete you can delete this file!
|

Next Step | Back to Top
|
Step
2
Upon
finishing the installation you will be able to run Realtime-Spy's
configuration file immediately. Do this and continue to
the next step.
|

Next Step | Back
to Top
|
Step
3
You will now see the Realtime-Spy configuration
window. Enter in your username and password that you received
after purchasing Realtime-Spy. These must be entered EXACTLY
as given. They are case sensitive, and take care not to
mix up 0's with O's and I's with l's.
After you enter your username and password, choose whether
or not you want Realtime-Spy to display a splash warning
whenever it is ran, and how often you want it to clear
its logs.
After
you enter your username/password and select the options you
want - press "next" to go to the next configuration panel.
|

Next Step | Back
to Top
|
Step
4
When you click "next" Realtime-Spy will
verify your settings. If they are correct you will be able
to configure your monitoring options, as shown below. Once
you have your options set click "create" to create your
logging module.
|

Next Step | Back
to Top
|
Step
5
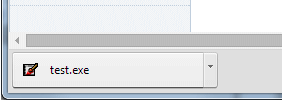
Click "create" to create your logging module.
You will be prompted for a name to give the file
you are creating. In this example we have named it 'test'
- you can name it whatever you want. Click Save and you
will receive a message similar to the one below.
Remember
the location of the file you have just created!
|


Next Step | Back
to Top
|
Step
6
Now it is time to send out the file
to the remote PC. In this guide we are using Outlook
Express on Windows XP.
Click
the Create Mail button to open a new mail window.
|

Next Step | Back
to Top
|
Step
7
Click ATTACH and navigate to where you saved
your Realtime-Spy file you created previously. Click on
the file and then click 'Attach' to attach the file to
your email.
|

Next Step | Back
to Top
|
Step
8
You will now have to enter a recipient for
the file you are sending, as well as an email subject and
body. Notice the size of the Realtime-Spy file - it should
be approximately 100-120kb at all times!
Once
you are ready to go click Send to send the email!
|

Next Step | Back
to Top
|
Step
9
Once you send out the file you can then
login to your Realtime-Spy webspace. This is located at
www.realtime-spy.com/mems/
Enter
in your username/password at the prompt to continue!
|

Next Step | Back
to Top
|
Step
10
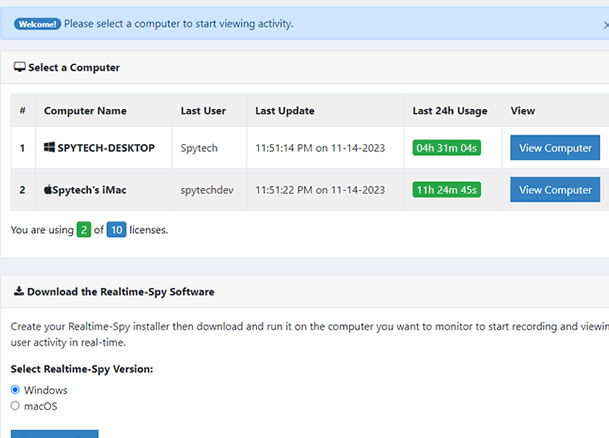
You will be presented with your Realtime-Spy
webspace. Here you can select and view users that were
logged with the file you sent out.
Note: Users
will only appear after they have downloaded and executed
the file you have sent them.
If
you have any questions check out the Realtime-Spy page
at www.realtime-spy.com
|

Back
to Top |
| |
